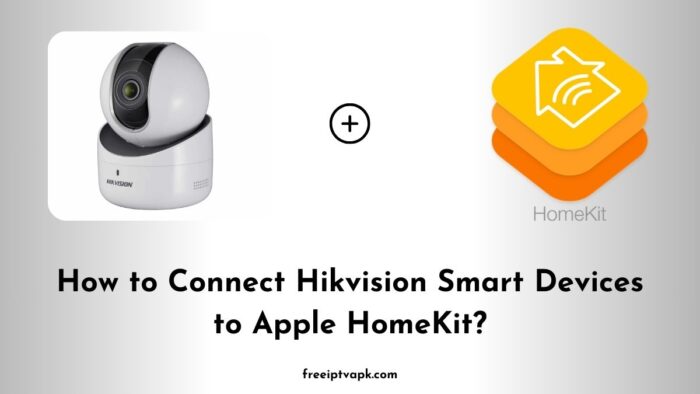
How to Connect Hikvision Smart Devices to Apple HomeKit?
Apple’s HomeKit offers a unified platform to control various smart home devices through your Apple ecosystem. However, not all devices, like Hikvision smart cameras and sensors, come with native Apple HomeKit support.
Worry not. With tools like Homebridge and HOOBS, you can bridge this compatibility gap. This article provides a detailed guide on connecting Hikvision smart devices to Apple HomeKit using Homebridge and HOOBS hubs separately.
Understanding the Basics
Before diving into the setup process, it is essential to grasp the fundamentals:
- Homebridge: An open-source Node.js server that emulates the Apple HomeKit API, allowing you to integrate non-HomeKit devices into your Home app.
- HOOBS (Homebridge Out of the Box): A user-friendly interface and pre-configured system for Homebridge, simplifying the process of connecting non-HomeKit devices.
Do read: How to Connect Govee Smart Devices to Apple HomeKit?
Connecting Hikvision Devices Using Homebridge
Setting up Homebridge to work with Hikvision devices involves a series of steps. Here is how you can do it:
1. Install Homebridge
- Prerequisites: Ensure you have Node.js and npm installed on your system.
- Installation Command: Open your terminal and run:
npm install -g homebridge2. Install the Hikvision Plugin
To enable Homebridge to communicate with Hikvision devices, you will need a specific plugin:
- Installation Command:
npm install -g homebridge-hikvision3. Configure the Plugin
After installation, configure the plugin to recognize your Hikvision devices:
- Configuration File: Locate the
config.jsonfile in the Homebridge directory. - Add Device Details: Input your Hikvision device information, such as IP address, username, and password.
{
  "platforms": [
    {
      "platform": "Hikvision",
      "cameras": [
        {
          "name": "Front Door Camera",
          "ip": "192.168.1.100",
          "username": "admin",
          "password": "your_password"
        }
      ]
    }
  ]
}
4. Start Homebridge
With the configuration in place, start the Homebridge server:
homebridgeOnce running, your Hikvision devices should appear in the Apple Home app, ready for integration.
Connecting Hikvision Devices Using HOOBS
HOOBS offers a more streamlined approach for those who prefer a user-friendly interface:
1. Set Up HOOBS
- Purchase HOOBS Box: Alternatively, download the HOOBS image to install on a Raspberry Pi.
- Installation: Follow the provided instructions to set up the HOOBS system.
2. Access the HOOBS Interface
- Web Interface: Once set up, access the HOOBS dashboard via your web browser.
Suggested for you – How to Connect Honeywell Smart Devices to Apple HomeKit?
3. Install the Hikvision Plugin
- Navigate to Plugins: In the HOOBS dashboard, go to the “Plugins” section.
- Search and Install: Look for the “Hikvision” plugin and install it.
4. Configure the Plugin
- User-Friendly Setup: HOOBS provides a graphical interface to input your device details, making the configuration more straightforward.
5. Integrate with Apple HomeKit
- Automatic Detection: Once configured, HOOBS will bridge the Hikvision devices to HomeKit, making them available in the Home app.
Integrating Hikvision smart devices into Apple HomeKit enhances your smart home ecosystem, providing centralized control through the Home app.
Whether you opt for Homebridge or HOOBS, both methods offer effective solutions to bridge the compatibility gap.
By following the steps outlined above, you can enjoy seamless integration and take full advantage of your smart devices’ capabilities.
