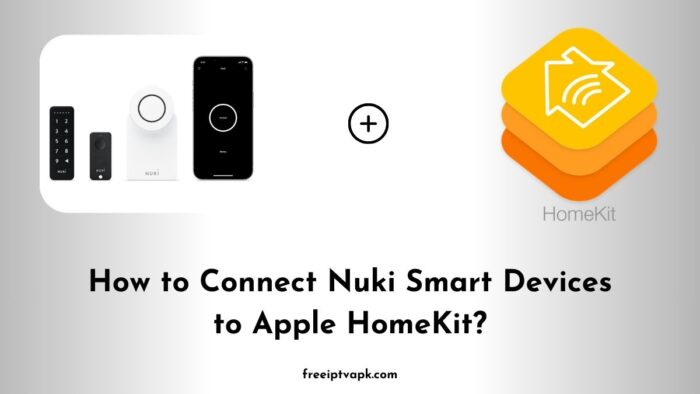
How to Connect Nuki Smart Devices to Apple HomeKit?
So, you have got a Nuki smart lock and you are eager to control it with Apple’s HomeKit? While Nuki does not offer native HomeKit support, don’t worry. With tools like Homebridge and HOOBS, you can bridge that gap. Let’s dive into how you can set this up.
How to Connect Nuki Smart Devices to Apple HomeKit?
Before we get started, ensure you have the following:
- Nuki Smart Lock: Installed and operational.
- Homebridge or HOOBS: To act as the bridge between Nuki and HomeKit.
- A Device for Homebridge/HOOBS: This could be a Raspberry Pi, a computer, or a Docker-compatible device.
- Basic Technical Know-How: Familiarity with terminal commands and network setups will be beneficial.
Method 1: Connecting Nuki to Apple Home Using Homebridge
Step 1: Install Homebridge
- Set Up Your Device: Ensure your device (e.g., Raspberry Pi) is running the latest OS.
- Install Node.js: Homebridge requires Node.js. Install the LTS version suitable for your system.
- Install Homebridge: Open your terminal and run:
sudo npm install -g homebridge4. Verify Installation: Confirm Homebridge is installed by running:
homebridge --versionStep 2: Install the Nuki Plugin
- Search for the Plugin: In your terminal, execute:
npm search homebridge-nuki2. Install the Plugin: Once located, install it:
sudo npm install -g homebridge-nukiStep 3: Configure the Plugin
- Locate the Config File: Find the
config.jsonfile in the Homebridge directory. - Edit the Config File: Add your Nuki device details. A sample configuration might look like:
{
  "platforms": [
    {
      "platform": "NukiPlatform",
      "hostNameOrIpAddress": "your_nuki_bridge_ip",
      "bridgeApiToken": "your_api_token"
    }
  ]
}
3. Save and Restart: Save the changes and restart Homebridge:
homebridgeStep 4: Add Homebridge to HomeKit
- Open the Home App: On your iOS device, launch the Home app.
- Add Accessory: Tap the ‘+’ icon and select ‘Add Accessory’.
- Scan QR Code: Use the QR code provided by Homebridge to pair.
Do read: How to Connect Kasa Smart Devices to Apple HomeKit?
Method 2: Connecting Nuki to Apple Home Using HOOBS
Step1: Install HOOBS
- Download HOOBS: Visit the HOOBS website and download the latest image.
- Flash to SD Card: Use software like balenaEtcher to flash the image onto an SD card.
- Boot HOOBS: Insert the SD card into your Raspberry Pi and power it up.
Step2: Access the HOOBS Interface
- Find the IP Address: Use a network scanner to locate your HOOBS device on the network.
- Login to HOOBS: Open a browser and navigate to
http://hoobs.localor the IP address. Use the default credentials to log in.
Step3: Install the Nuki Plugin
- Navigate to Plugins: In the HOOBS interface, click on the ‘Plugins’ tab.
- Search for Nuki: Enter ‘Nuki’ in the search bar.
- Install the Plugin: Click ‘Install’ on the appropriate plugin.
Step4: Configure the Plugin
- Access Plugin Settings: After installation, click on ‘Configure’.
- Enter Nuki Details: Input your Nuki Bridge IP address and API token.
- Save and Reboot: Save the configuration and reboot HOOBS.
Step5: Add HOOBS to HomeKit
- Open the Home App: On your iOS device, launch the Home app.
- Add Accessory: Tap the ‘+’ icon and select ‘Add Accessory’.
- Scan QR Code: Use the QR code provided by HOOBS to pair.
By following these steps, you can enjoy seamless control of your Nuki smart lock through Apple HomeKit, enhancing your smart home experience.
