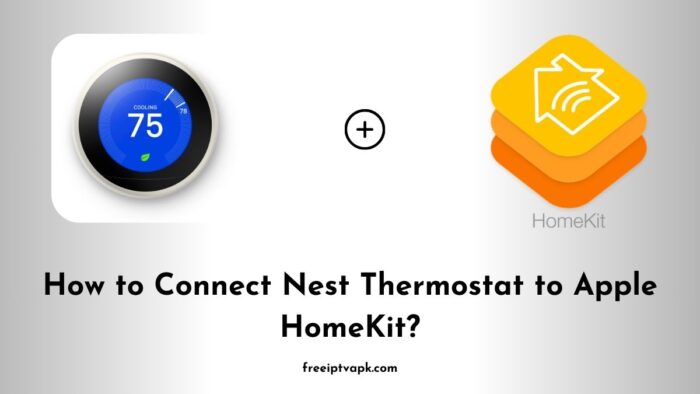
How to Connect Nest Thermostat to Apple HomeKit?
Integrating your Nest Thermostat with Apple HomeKit can be a bit of a head-scratcher since they don’t natively play nice together. But don’t throw in the towel just yet. With tools like Starling Home Hub, Homebridge, and HOOBS, you can bridge that gap and get these devices chatting like old pals.
In this guide, we will walk you through each method, so you can choose the one that suits your tech comfort level.
Do read: How to Connect Shelly Smart Devices to Apple HomeKit?
How to Connect Nest Thermostat to Apple HomeKit Using Starling Home Hub?
What is Starling Home Hub?
Starling Home Hub is a plug-and-play device designed to make connecting Google Nest products (like the Nest Thermostat, Nest Cam, and others) to Apple HomeKit a breeze. It’s a little box that connects to your home router, so you will be up and running in minutes without needing to set up a Homebridge server, manually edit configuration files, or worry about authentication tokens.
Steps to Connect Nest Thermostat Using Starling Home Hub
- Unbox and Connect:
- Plug the Starling Home Hub into a power outlet.
- Use the supplied Ethernet cable to connect it to your internet router. support.starlinghome.io
- Access the Setup Interface:
- On any device connected to your home network, open a browser and navigate to
http://setup.starling.io.
- On any device connected to your home network, open a browser and navigate to
- Link Your Nest Account:
- Follow the on-screen instructions to sign in to your Nest account and authorize the connection.
- Add to Apple Home:
- Open the Apple Home app on your iOS device.
- Tap the ‘+’ icon and select ‘Add Accessory’.
- Scan the HomeKit setup code provided by the Starling Home Hub.
- Finalize Setup:
- Assign your Nest Thermostat to a room and customize its settings as desired.
Once completed, your Nest Thermostat should appear in the Home app, ready for integration into your smart home routines.
Do read: How to Connect Zemismart Devices to Apple HomeKit?
Connecting Nest Thermostat to Apple HomeKit Using Homebridge
What is Homebridge?
Homebridge is a lightweight Node.js server that emulates the iOS HomeKit API. It allows you to integrate non-HomeKit-compatible devices into your HomeKit setup. It’s a DIY solution that requires some technical know-how but offers extensive customization.
Steps to Connect Nest Thermostat Using Homebridge
- Install Homebridge:
- Install Homebridge using:
npm install -g homebridge.
- Install Homebridge using:
- Install the Nest Plugin:
- Install the Nest plugin using:
npm install -g homebridge-nest.
- Install the Nest plugin using:
- Obtain Authentication Tokens:
- For Nest Account users:
- Retrieve your Nest Account access token.
- For Google Account users:
- Obtain a refresh token following the plugin’s documentation.
- For Nest Account users:
- Configure Homebridge:
- Edit the
config.jsonfile to include the Nest plugin configuration
- Edit the
{
  "platforms": [
    {
      "platform": "Nest",
      "access_token": "your Nest Account access token"
    }
  ]
}
5. Start Homebridge:
- Run
homebridgein your terminal.
6. Add to Apple Home:
- Open the Home app on your iOS device.
- Tap the ‘+’ icon and select ‘Add Accessory’.
- Scan the HomeKit setup code displayed in the Homebridge terminal.
Your Nest Thermostat should now be integrated into your HomeKit setup via Homebridge.
Connecting Nest Thermostat to Apple HomeKit Using HOOBS
What is HOOBS?
HOOBS (Homebridge Out Of the Box) is a user-friendly, pre-configured version of Homebridge. It simplifies the process of integrating non-HomeKit devices, offering a more accessible interface for those who prefer a plug-and-play solution.
Steps to Connect Nest Thermostat Using HOOBS
- Set Up HOOBS:
- Purchase a HOOBS box or install the HOOBS software on compatible hardware.
- Connect HOOBS to your network and power it on.
- Access the HOOBS Interface:
- On a device connected to your network, open a browser and navigate to
http://hoobs.local.
- On a device connected to your network, open a browser and navigate to
- Install the Nest Plugin:
- In the HOOBS interface, go to the ‘Plugins’ section.
- Search for ‘Nest’ and install the appropriate plugin.
- Configure the Plugin:
- Enter your Nest or Google account credentials as prompted.
- Add to Apple Home:
- Open the Home app on your iOS device.
- Tap the ‘+’ icon and select ‘Add Accessory’.
- Scan the HomeKit setup code provided by HOOBS.
After completing these steps, your Nest Thermostat should be accessible through the Home app, thanks to HOOBS.
