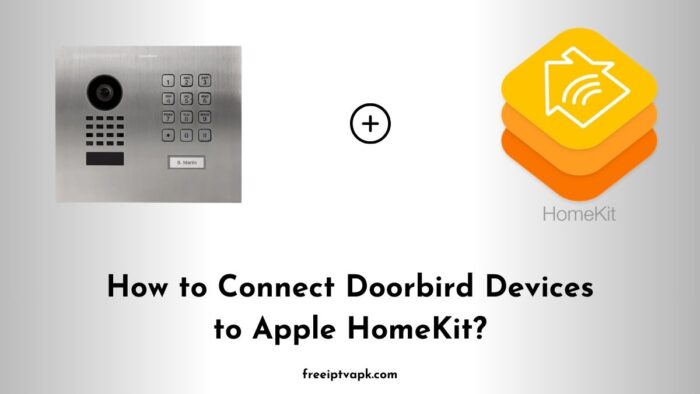
How to Connect Doorbird Devices to Apple HomeKit?
Integrating your Doorbird video intercom with Apple HomeKit can significantly enhance your smart home setup, allowing you to manage your doorbell through the Home app and Siri voice commands.
While Doorbird does not offer native HomeKit support, you can achieve this integration using either Homebridge or HOOBS. This guide will walk you through both methods, providing detailed steps to connect your Doorbird device to Apple HomeKit.
Do read: How to Connect ADT Smart Devices to Apple HomeKit?
Connecting Doorbird to HomeKit Using Homebridge
Homebridge is a lightweight Node.js server that emulates the iOS HomeKit API, enabling you to integrate non-HomeKit devices like Doorbird into your HomeKit setup.
Prerequisites
- Homebridge Installation: Ensure Homebridge is installed on your system. If not, install it globally using npm:
sudo npm install -g --unsafe-perm homebridge- Doorbird Plugin: Install the Homebridge Doorbird plugin
sudo npm install -g --unsafe-perm homebridge-doorbirdConfiguration Steps
- Locate the Configuration File: Find the
config.jsonfile in your Homebridge directory, typically located at~/.homebridge/. - Edit Configuration: Add the Doorbird platform to the
config.jsonfile with the necessary details
"platforms": [
  {
    "platform": "Doorbird",
    "doorbirds": [
      {
        "name": "Front Door",
        "ip": "your.doorbird.ip",
        "username": "your_username",
        "password": "your_password",
        "options": ["Relay.Hide.2"]
      }
    ]
  }
]
Replace your.doorbird.ip, your_username, and your_password with your Doorbird’s IP address, username, and password, respectively.
3. Enable Audio Support (Optional): To include audio features, ensure the Audio. Enable the option is set in the options array:
"options": ["Audio.Enable"]4. Save and Restart: Save the config.json file and restart Homebridge to apply the changes.
Do read: How to Connect Ecovacs Smart Devices to Apple HomeKit?
Connecting Doorbird to HomeKit Using HOOBS
HOOBS (Homebridge Out of the Box) offers a user-friendly interface for Homebridge, simplifying the process of adding non-HomeKit devices.
Prerequisites
- HOOBS Installation: Set up HOOBS on your system. You can download the image from the official HOOBS website and flash it onto a microSD card for your Raspberry Pi.
Configuration Steps
- Access HOOBS Interface: Open your web browser and navigate to
http://hoobs.localto access the HOOBS dashboard. - Install Doorbird Plugin:
- Navigate to the Plugins section.
- Search for
homebridge-doorbird. - Click Install to add the plugin.
- Configure the Plugin:
- After installation, click on the Configure button.
- Enter your Doorbird’s IP address, username, and password in the provided fields.
- To enable audio support, add
Audio.Enableto the options.
- Save and Reboot: Save the configuration and reboot the HOOBS system to apply the changes.
Integrating your Doorbird device with Apple HomeKit using Homebridge or HOOBS enhances your home’s smart capabilities, providing seamless control through the Home app and Siri.
By following the steps outlined above, you can achieve a smooth integration, bringing convenience and advanced functionality to your smart home ecosystem.
