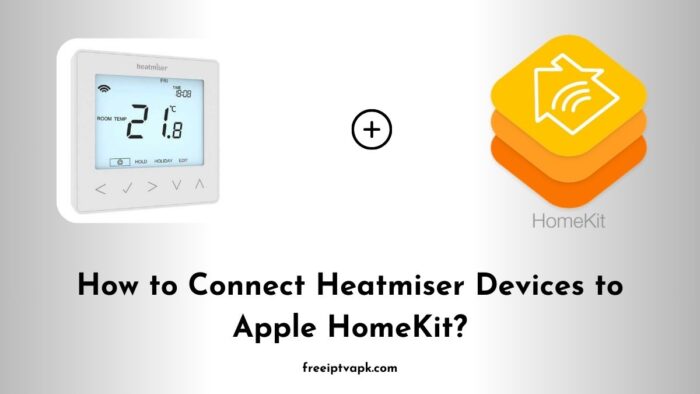
How to Connect Heatmiser Devices to Apple HomeKit?
So, you have got Heatmiser thermostats controlling your home’s heating, but you want to connect them to Apple HomeKit? Unfortunately, Heatmiser does notoffer direct HomeKit support. But don’t worry, you can still bridge the gap using either Homebridge or HOOBS (Homebridge Out of the Box System)!
In this guide, we will walk you through the process of integrating Heatmiser devices with HomeKit using these two methods. Whether you prefer the flexibility of Homebridge or the user-friendly setup of HOOBS, we have got you covered.
Do read: How to Connect Nest Thermostat to Apple HomeKit?
How to Connect Heatmiser Devices to Apple HomeKit Using Homebridge?
What Is Homebridge?
Homebridge is an open-source software that lets you add non-HomeKit devices to Apple’s ecosystem. It runs on various platforms like macOS, Windows, Linux, and even Raspberry Pi.
Steps to Set Up Heatmiser with Homebridge
Step1: Install Homebridge
- Install Node.js (required for Homebridge).
- Use the command line to install Homebridge
npm install -g homebridge- Verify installation by running:
homebridgeStep2: Install the Heatmiser Plugin
- Use this command:
npm install -g homebridge-heatmiser- Configure the plugin by editing
config.jsonin the Homebridge directory.
Step3: Configure Homebridge
- Add your Heatmiser IP address, username, and password in the
config.jsonfile. - Restart Homebridge.
Step4: Add Homebridge to HomeKit
- Open the Home app on your iPhone.
- Tap “+” > “Add Accessory”, then scan the QR code from Homebridge’s UI.
- Your Heatmiser devices should now appear in HomeKit.
Do read: How to Connect Roborock Smart Devices to Apple HomeKit?
How to Connect Heatmiser Devices to Apple HomeKit Using HOOBS?
What Is HOOBS?
HOOBS is a plug-and-play version of Homebridge, designed for non-technical users. It comes pre-configured, making setup a breeze.
Steps to Set Up Heatmiser with HOOBS
Step1: Install HOOBS
- Download and install HOOBS on a Raspberry Pi or macOS/Windows device.
- Open a web browser and go to
http://hoobs.local.
Step2: Install the Heatmiser Plugin
- Navigate to the Plugins section in HOOBS.
- Search for “homebridge-heatmiser” and install it.
Step3: Configure the Plugin
- Open the plugin settings and enter your Heatmiser device details (IP, username, password).
Step4: Add HOOBS to Apple HomeKit
- In the HOOBS dashboard, find the QR code for HomeKit.
- Open the Home app on your iPhone and scan the code.
- That’s it. Your Heatmiser devices should now be visible in HomeKit.
Now you know how to connect Heatmiser devices to Apple HomeKit using Homebridge and HOOBS hubs separately. Whether you go with Homebridge for flexibility or HOOBS for convenience, your smart home just got smarter.
