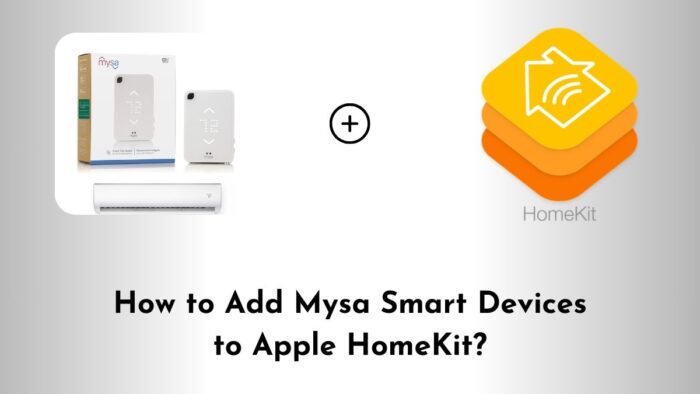
How to Add Mysa Smart Devices to Apple HomeKit?
Mysa smart thermostats offer precise control over your heating systems and are a fantastic addition to any home. However, if you are an Apple HomeKit user, you might have noticed that Mysa devices don’t natively support HomeKit. But don’t worry.
With the help of Homebridge and HOOBS, you can bridge this gap and enjoy seamless integration. In this guide, we will walk you through the process of adding Mysa smart devices to Apple HomeKit using Homebridge and HOOBS.
What Are Homebridge and HOOBS?
Homebridge is a lightweight Node.js server that emulates the iOS HomeKit API, allowing you to integrate non-HomeKit-compatible devices into your Home app.
HOOBS (Homebridge Out of the Box) is a user-friendly interface and pre-configured system for Homebridge, making it more accessible to users who might not be comfortable with manual setups.
Why Integrate Mysa Devices with HomeKit?
Integrating your Mysa devices with HomeKit allows you to:
- Centralize Control: Manage all your smart devices from the Home app.
- Use Siri Voice Commands: Control your heating with simple voice requests.
- Automate Routines: Create scenes and automations that include your Mysa thermostats.
Prerequisites
Before we dive in, ensure you have the following:
- A Mysa Smart Thermostat: Installed and configured via the Mysa app.
- A Device for Homebridge/HOOBS: This could be a Raspberry Pi, a Windows PC, or a macOS machine.
- Basic Technical Skills: Familiarity with installing software and using command-line interfaces.
#1. Setting Up HOOBS
- Download HOOBS:
Visit the HOOBS official website and download the latest version suitable for your device. - Install HOOBS:
Follow the installation instructions provided for your specific system. - Access the HOOBS Interface:
Once installed, open your browser and navigate to http://hoobs.local to access the dashboard.
#2. Installing the Mysa Plugin
- Navigate to the Plugins Section: In the HOOBS dashboard, click on the “Plugins” tab.
- Search for Mysa: Use the search bar to find the “homebridge-mysa” plugin.
- Install the Plugin: Click on the “Install” button next to the plugin.
#3. Configuring the Mysa Plugin
- Obtain Mysa API Credentials:
Log in to your Mysa account and generate an API token. This is essential for the plugin to communicate with your Mysa devices. - Add Credentials to HOOBS:
In the HOOBS dashboard, go to the “Configuration” tab of the Mysa plugin and input your API token. - Save and Reboot:
After entering your credentials, save the configuration and reboot HOOBS to apply the changes.
#4. Adding Mysa Devices to HomeKit
- Open the Home App:
On your iOS device, launch the Home app. - Add Accessory:
Tap the “+” icon and select “Add Accessory.” - Scan the QR Code:
Use your device’s camera to scan the QR code provided by HOOBS. - Assign Rooms and Names:
Once added, assign your Mysa devices to specific rooms and give them identifiable names.
By following these steps, you can successfully add Mysa smart devices to Apple HomeKit using Homebridge and HOOBS.
This integration enhances your smart home experience, allowing for centralized control and automation of your heating system.