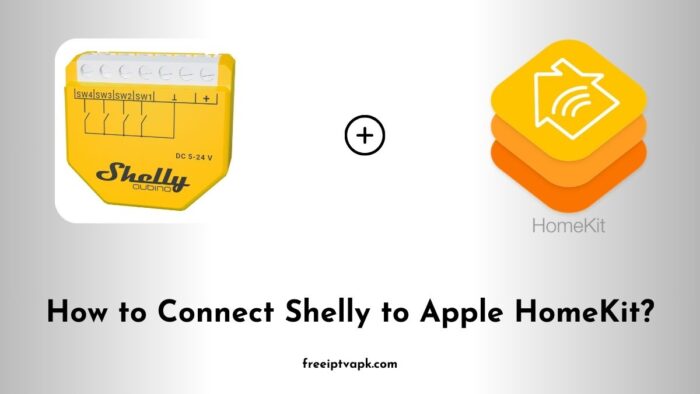
How to Connect Shelly Smart Devices to Apple HomeKit?
Shelly devices are renowned for their affordability and versatility in the smart home market. However, their lack of native support for Apple HomeKit can be a hurdle for Apple users.
By leveraging platforms like Homebridge and HOOBS, users can integrate Shelly devices into the HomeKit ecosystem, enabling centralized control, automation, and voice commands via Siri.
Do read: How to Connect Zemismart Devices to Apple HomeKit?
How to Connect Shelly Smart Devices to Apple HomeKit Using Homebridge?
Prerequisites
- Homebridge Installation: Ensure Homebridge is installed on your system. This can be on a Raspberry Pi, macOS, Windows, or Linux machine.
- Shelly Devices: Your Shelly devices should be set up and connected to the same network as your Homebridge server.
Steps to Integrate
- Install the Shelly Plugin:
- Open your terminal or command prompt.
- Run the command
npm install -g homebridge-shelly- This installs the Shelly plugin for Homebridge.
2. Configure the Plugin:
- Navigate to the Homebridge configuration file, typically located at
~/.homebridge/config.json. - Add the Shelly platform configuration:
{
  "platforms": [
    {
      "platform": "Shelly",
      "name": "Shelly"
    }
  ]
}- This basic configuration enables automatic discovery of Shelly devices on your network.
- Restart Homebridge:
- After saving the configuration file, restart Homebridge to apply the changes.
- Add Devices to HomeKit:
- Open the Apple Home app on your iOS device.
- Tap the ‘+’ icon and select ‘Add Accessory’.
- Scan the Homebridge QR code displayed in the terminal or on the Homebridge dashboard.
- Follow the on-screen instructions to complete the setup.
Your Shelly devices should now appear in the Home app, ready for control through HomeKit.
Do read: How to Connect Tesdon Smart Devices to Apple HomeKit?
Connecting Shelly Devices Using HOOBS
Prerequisites
- HOOBS Device: A HOOBS in a Box or a system with HOOBS installed.
- Shelly Devices: Ensure your Shelly devices are connected to the same network as your HOOBS hub.
Steps to Integrate
- Set Up HOOBS:
- Connect your HOOBS device to the network and power it on.
- Access the HOOBS interface by navigating to
http://hoobs.localin your web browser.
- Install the Shelly Plugin:
- In the HOOBS dashboard, navigate to the ‘Plugins’ section.
- Search for the ‘Shelly’ plugin and click ‘Install’.
- Configure the Plugin:
- After installation, click ‘Configure’ on the Shelly plugin.
- Input any necessary details, such as device usernames and passwords if you’ve set them.
- Save the configuration.
- Add HOOBS to HomeKit:
- In the HOOBS dashboard, navigate to the ‘Bridges’ section.
- Locate the HomeKit setup code or QR code.
- Open the Apple Home app on your iOS device.
- Tap the ‘+’ icon and select ‘Add Accessory’.
- Scan the HOOBS QR code and follow the on-screen instructions.
Once completed, your Shelly devices will be integrated into HomeKit via HOOBS, allowing for seamless control through the Home app.
Integrating Shelly smart devices into Apple HomeKit using Homebridge or HOOBS enhances your smart home experience by centralizing control and enabling advanced automation. Choose the platform that best fits your technical comfort level and enjoy a cohesive smart home environment.
