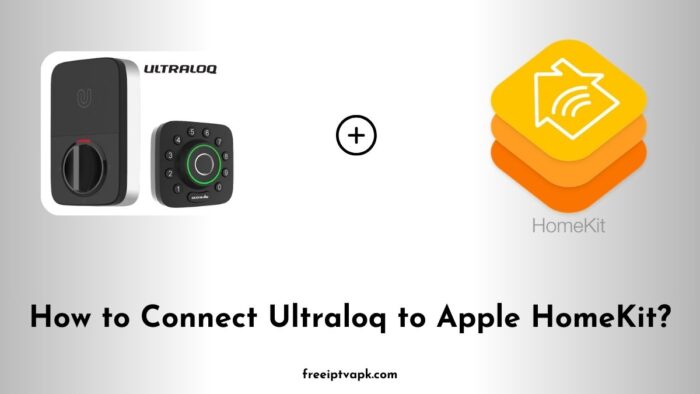
How to Connect Ultraloq to Apple HomeKit?
In today’s rapidly evolving smart home landscape, ensuring seamless integration between devices can be a game-changer. The Ultraloq series of smart locks offers robust security features, but native support for Apple HomeKit isn’t always available.
Fortunately, with tools like Homebridge and HOOBS, you can bridge this gap, allowing your Ultraloq to work harmoniously within the Apple ecosystem.
Do read: How to Connect Roborock Smart Devices to Apple HomeKit?
Understanding the Basics
Before diving into the setup process, it’s essential to grasp the fundamentals of the tools we’ll be using:
- Homebridge: An open-source Node.js server that emulates the Apple HomeKit API, enabling the integration of non-HomeKit-compatible devices into your Home app.
- HOOBS (Homebridge Out of the Box): A user-friendly variant of Homebridge, HOOBS simplifies the installation and management process, making it more accessible, especially for those less tech-savvy.
Connecting Ultraloq to Apple HomeKit Using Homebridge
Integrating your Ultraloq with Homebridge involves a series of steps that require some technical proficiency. Here is how you can achieve this:
1. Install Homebridge
- Prerequisites: Ensure you have a system running macOS, Windows, or Linux with Node.js installed.
- Installation Steps:
- Install Node.js: Download and install the latest LTS version from the official Node.js website.
- Install Homebridge: Open your terminal or command prompt and execute:
npm install -g homebridge3. Verify Installation: Run homebridge in the terminal to ensure it’s installed correctly.
2. Install the Ultraloq Plugin
To facilitate communication between Homebridge and your Ultraloq, you’ll need a specific plugin:
- Installation Command:
npm install -g homebridge-ultraloq- Configuration:
- Locate the Config File: Find the
config.jsonfile in the Homebridge directory. - Edit the Config File: Add the Ultraloq plugin configuration, which typically includes:
- Username and Password: Credentials for your Ultraloq account.
- Device ID: Unique identifier for your Ultraloq device.
- Polling Interval: Frequency at which Homebridge checks the lock’s status.
- Save and Restart Homebridge: After editing, save the file and restart Homebridge to apply the changes.
- Locate the Config File: Find the
3. Add Homebridge to Apple Home App
- Steps:
- Open the Home App: On your iOS device, launch the Home app.
- Add Accessory: Tap the ‘+’ icon and select ‘Add Accessory’.
- Scan QR Code: Use your device’s camera to scan the QR code displayed by Homebridge.
- Complete Setup: Follow the on-screen instructions to finalize the integration.
Do read: How to Connect Blink Camera to Apple HomeKit?
Connecting Ultraloq to Apple HomeKit Using HOOBS
For those seeking a more straightforward approach, HOOBS offers a plug-and-play solution:
1. Set Up HOOBS
- Purchase HOOBS: Obtain a HOOBS box from the official website or install the HOOBS software on a compatible device.
- Installation:
- Power Up: Connect the HOOBS box to a power source and your network.
- Access the Interface: Using a web browser, navigate to
http://hoobs.localto access the HOOBS dashboard.
2. Install the Ultraloq Plugin
- Steps:
- Navigate to Plugins: In the HOOBS dashboard, click on the ‘Plugins’ tab.
- Search for Ultraloq: Use the search bar to find the ‘homebridge-ultraloq’ plugin.
- Install the Plugin: Click ‘Install’ and wait for the process to complete.
- Configure the Plugin: Enter your Ultraloq account details and device information as prompted.
3. Add HOOBS to Apple Home App
- Steps:
- Open the Home App: Launch the Home app on your iOS device.
- Add Accessory: Tap the ‘+’ icon and choose ‘Add Accessory’.
- Scan QR Code: Scan the QR code provided by HOOBS.
- Finalize Setup: Follow the on-screen prompts to complete the integration.
That is all to say about integrating your Ultraloq devices to Apple HomeKit using a simple guide.
